Introduction
Beyond words.
This is the segment that you should have been dreaming of, as well as garnering a large amount of respect for. Are you anxious? The scrambling at times is unrelentless, the views are world-class. Rivaling Segment 1 with its difficulty and danger, take this segment very seriously.
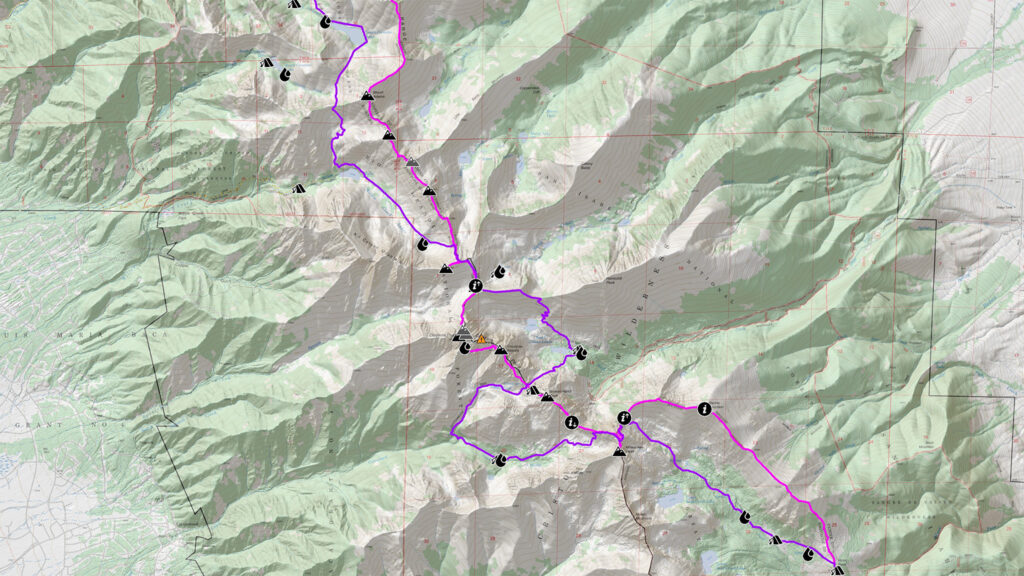
- 19.02 miles
- 11,215′ gain
- 9,447′ loss
Difficulty: Extreme — Class 5 climbing, exposure, lack of water sources, lack of bivvy sites, blowdown, difficulty bailing.
Peaks Summited
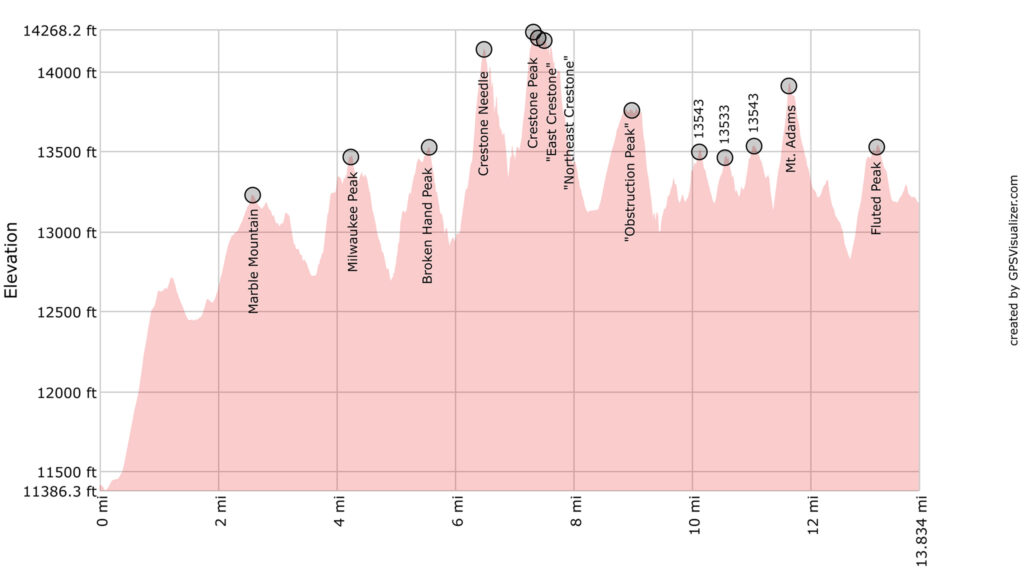
- Marble Mountain, 13,272′
- Milwaukee Peak, 13,526′ (bonus)
- Broken Hand Peak, 13,575′
- Crestone Needle, 14,196′
- Crestone Peak, 14,299′
- “East Crestone”, 14,298′
- “Northeast Crestone”, 14,251′
- “Obstruction Peak”, 13,812′ (bonus)
- Point 13543, 13,543′
- Point 13533, 13,533′
- Point 13543, 13,543′
- Mt. Adams, 13,937′
- Fluted Peak, 13,576′
Getting There
Music Pass is usually accessed by foot from the east, and rarely accessed from the west.
From the east, Music Pass can be accessed from the Music Pass Trailhead off of FSR 119 (4WD). It’s 2.07 miles from the trailhead to Music Pass.
From the west, you have a few options, none of which are heavily advertised as they lack convenience — to the point where the Park Service may suggest you drive all the way to the east side of the ridge, and access Music Pass from there.
But from the west, the first option is to access Great Sand Dunes NP from the North through the town of Crestone. Park at the Liberty Gate TH, and take the Liberty Gate Road to the start of the Sand Creek Trail (unsurprisingly: sandy). Take the Sand Creek Trail to Music Pass (16.52 miles from Liberty Gate).
This makes an interesting option if you would like to do Segment three as a loop, as at the end of Segment 3, you can drop off the ridge, and take trails back to the town of Crestone.
The second option is from the south side of Great Sand Dunes NP. Take the Sand Ramp Trail from either the Piñon Flats Campground or at Point of No Return north until around Sand Creek. Go cross country north following Sand Creek until you meet up with the Sand Creek Trail. (22.75 miles from Piñon Flats Campground).
A better option may be from Medano Pass:
A good resupply point would be near the Crestone Group. South Colony Lakes can be accessed from the east. Being a busier spot in the range, the best way to get food or other supplies to you would be by meeting someone at or below Broken Hand Pass and getting the gear handed to you without having anything hanging around for too long — food especially.
Narrative
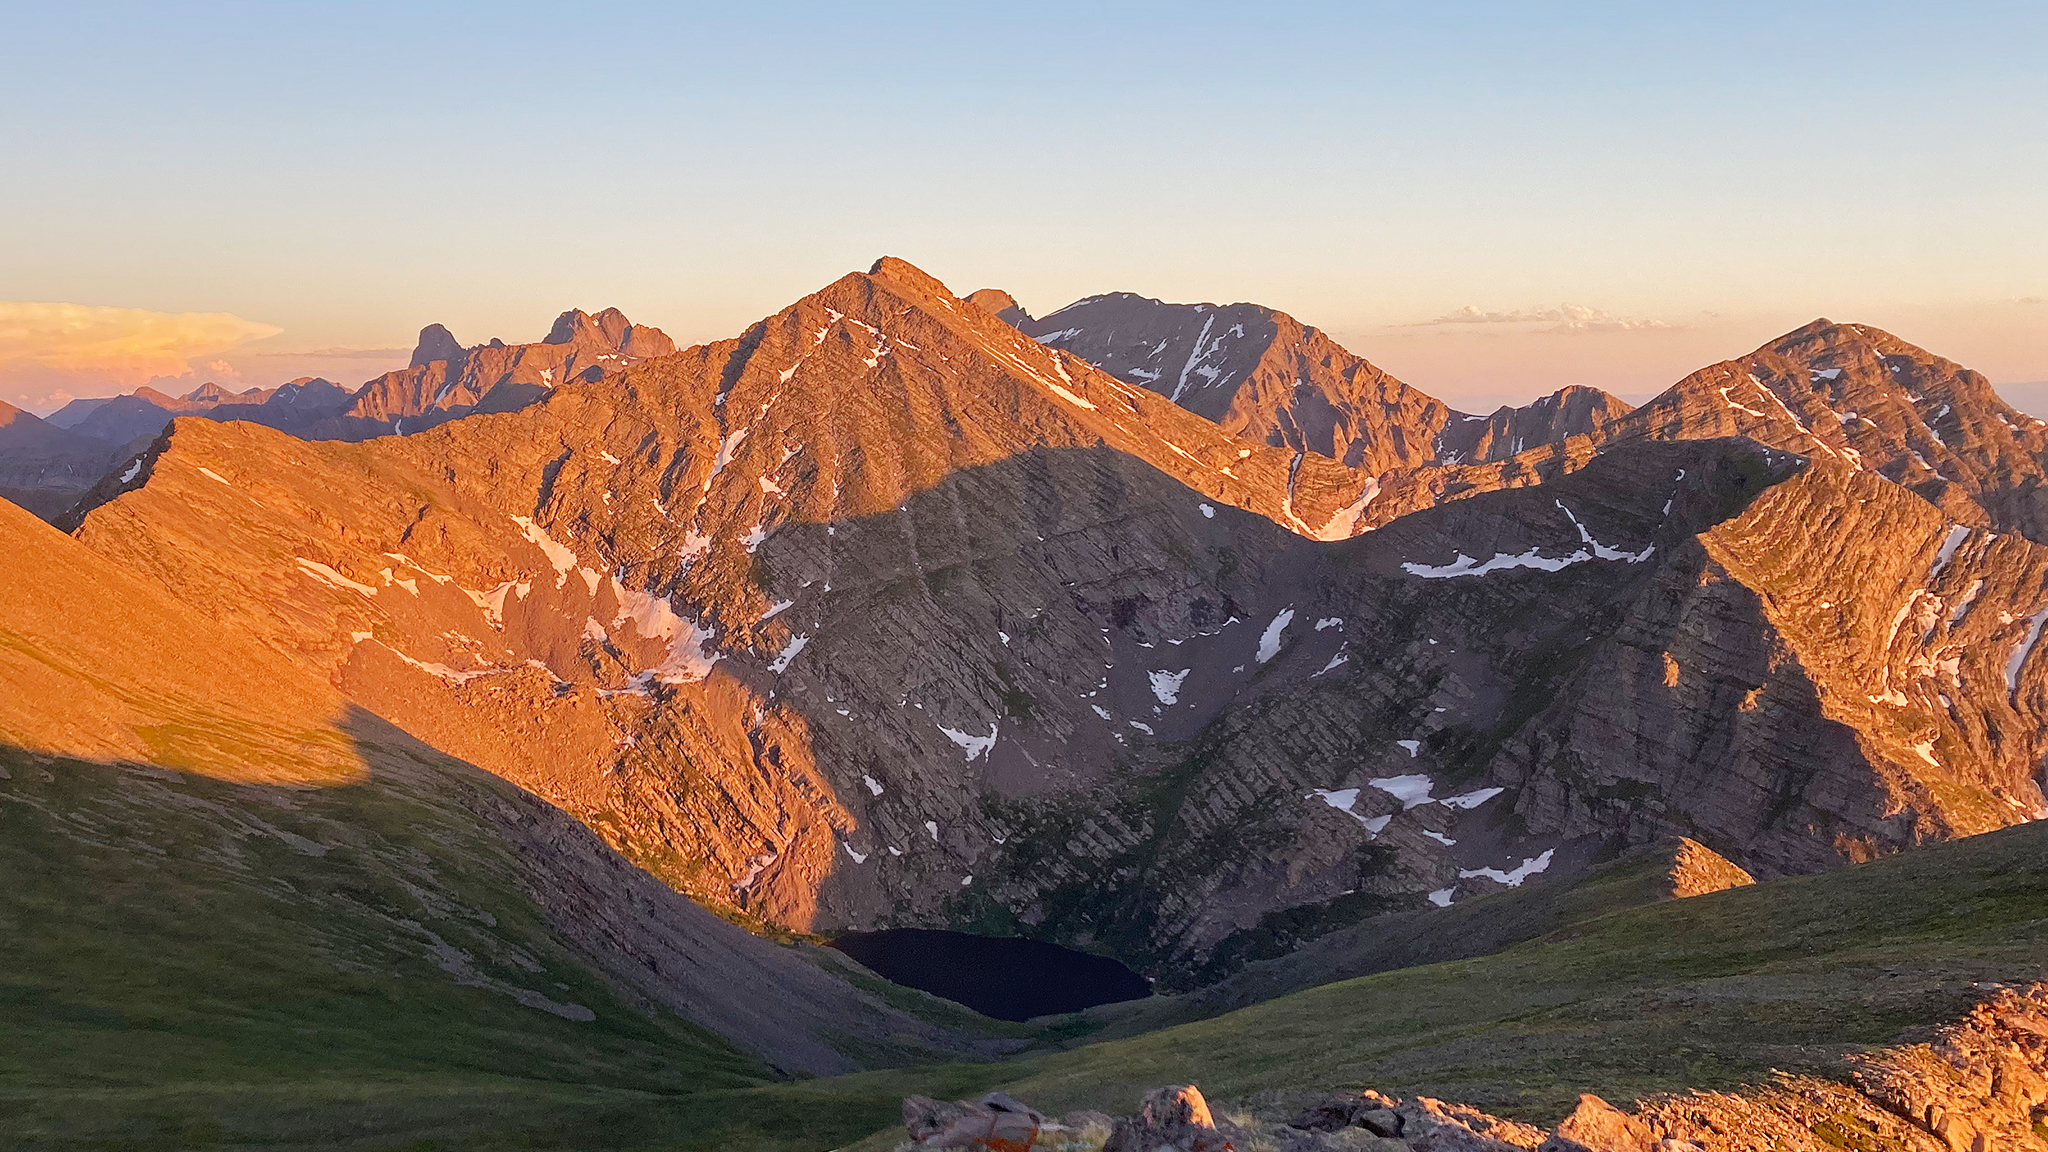
From Music Pass, head NW on the ridge towards Marble Mountain. The forest will give way to open tundra, then talus. The atmosphere feels extremely alien and it’s impossible to ignore the incredible peaks in front of you, many of which you’ll be summiting. Perhaps the best photo of the entire range can be taken from the summit of Marble Mountain.
2.90 Marble Mountain
Continue down from Marble’s summit. The ridge will start out wide with little technical problems, but soon will become very difficult as it wraps to the west, then southwest.
4.07 An unnamed, unmapped mystery trail will appear on the south side, assisting you in getting near the summit of Milwaukee Peak. Trust the trail as it switchbacks around.
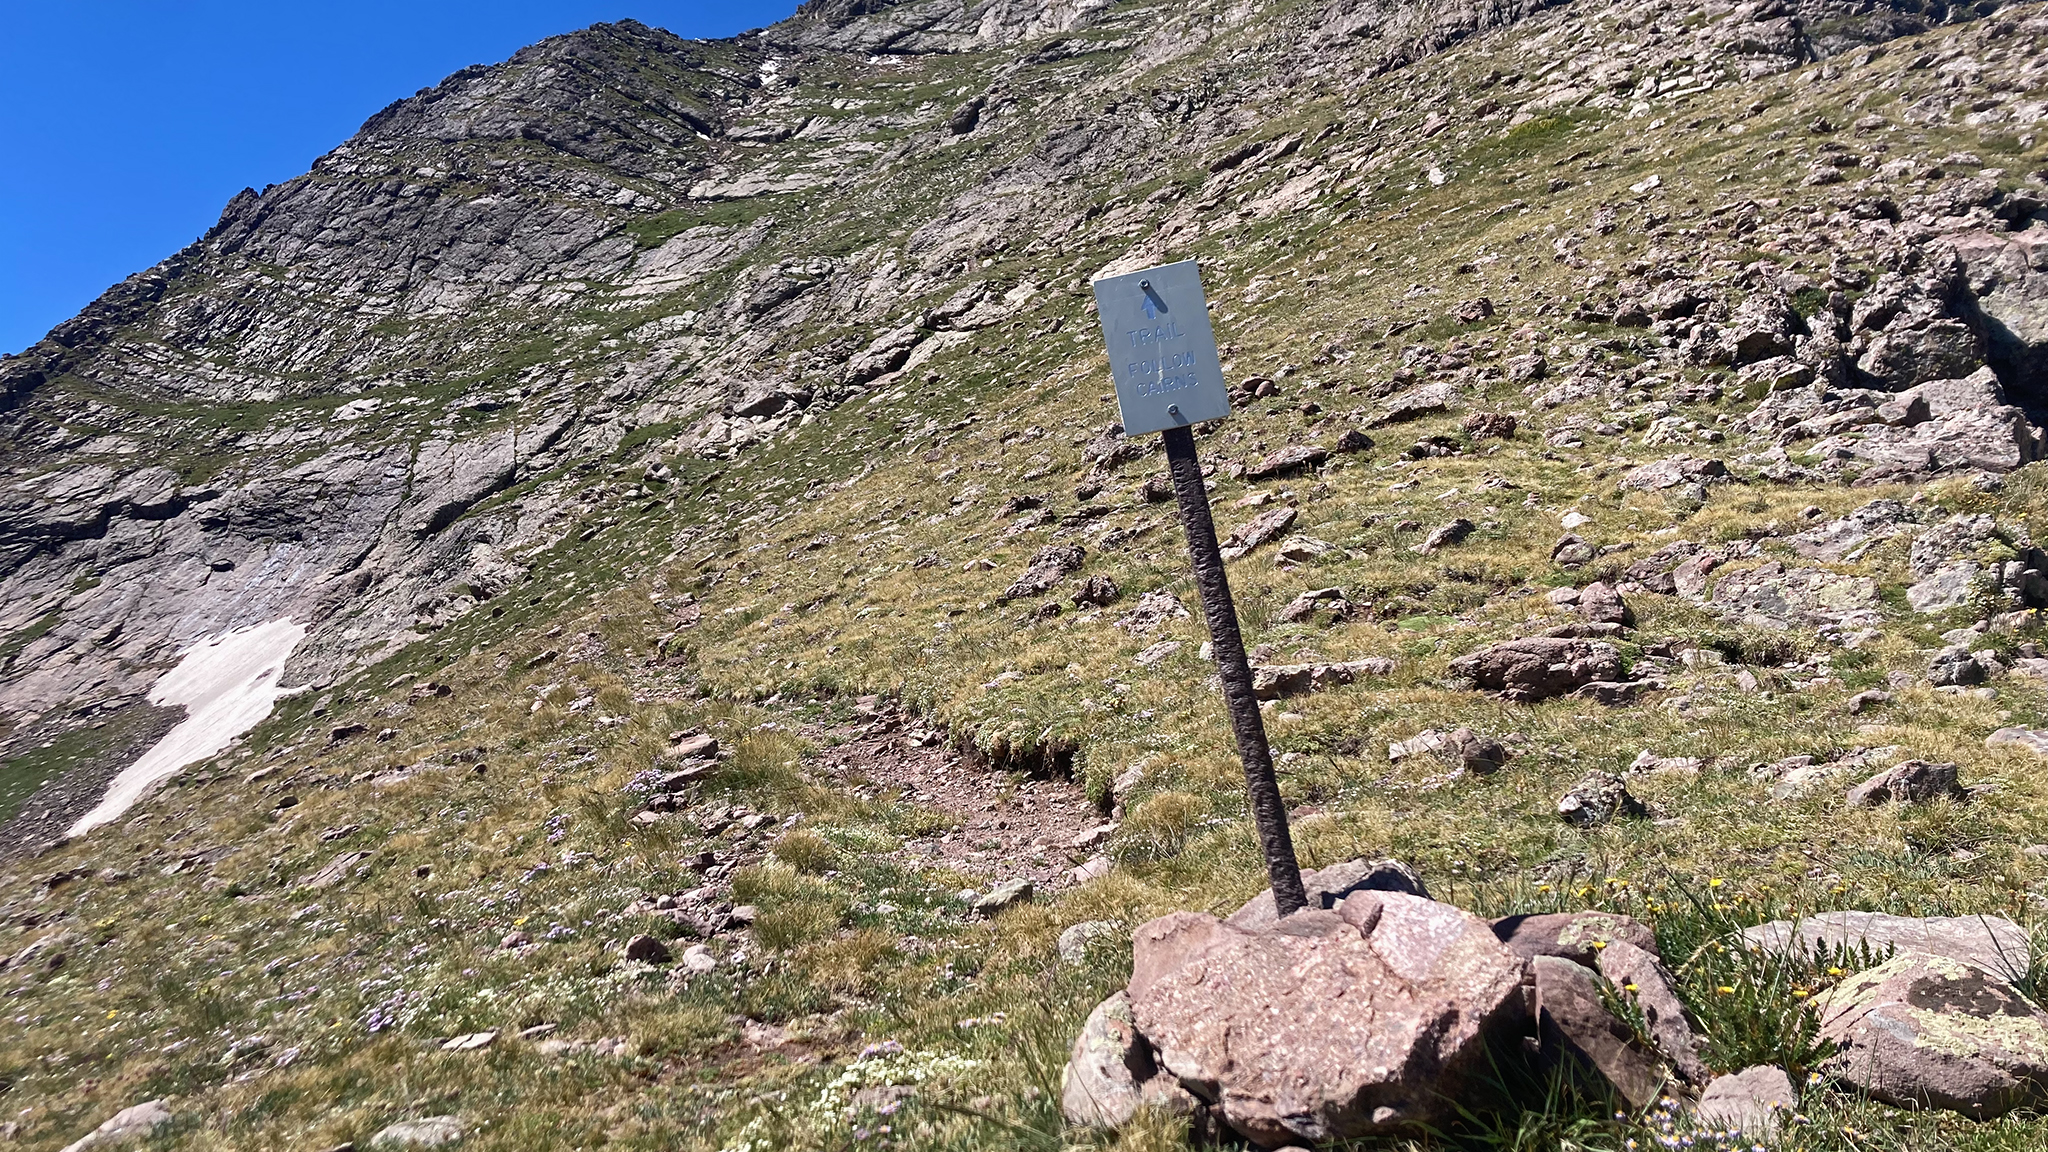
4.59 Beer Pass. Milwaukee’s summit will be passed to the north and is worth a quick visit (Class 4), although it is technically a bonus peak. A lingering snowfield usually loiters around here as well. Take advantage of it, if you do not see snow on the route itself.
Continue on the Mystery Trail for as long as it stays near the ridgeline, or start scrambling the ridgeline itself west. The knife-edge scrambling here is very fun and makes for a good warmup for the perils ahead.
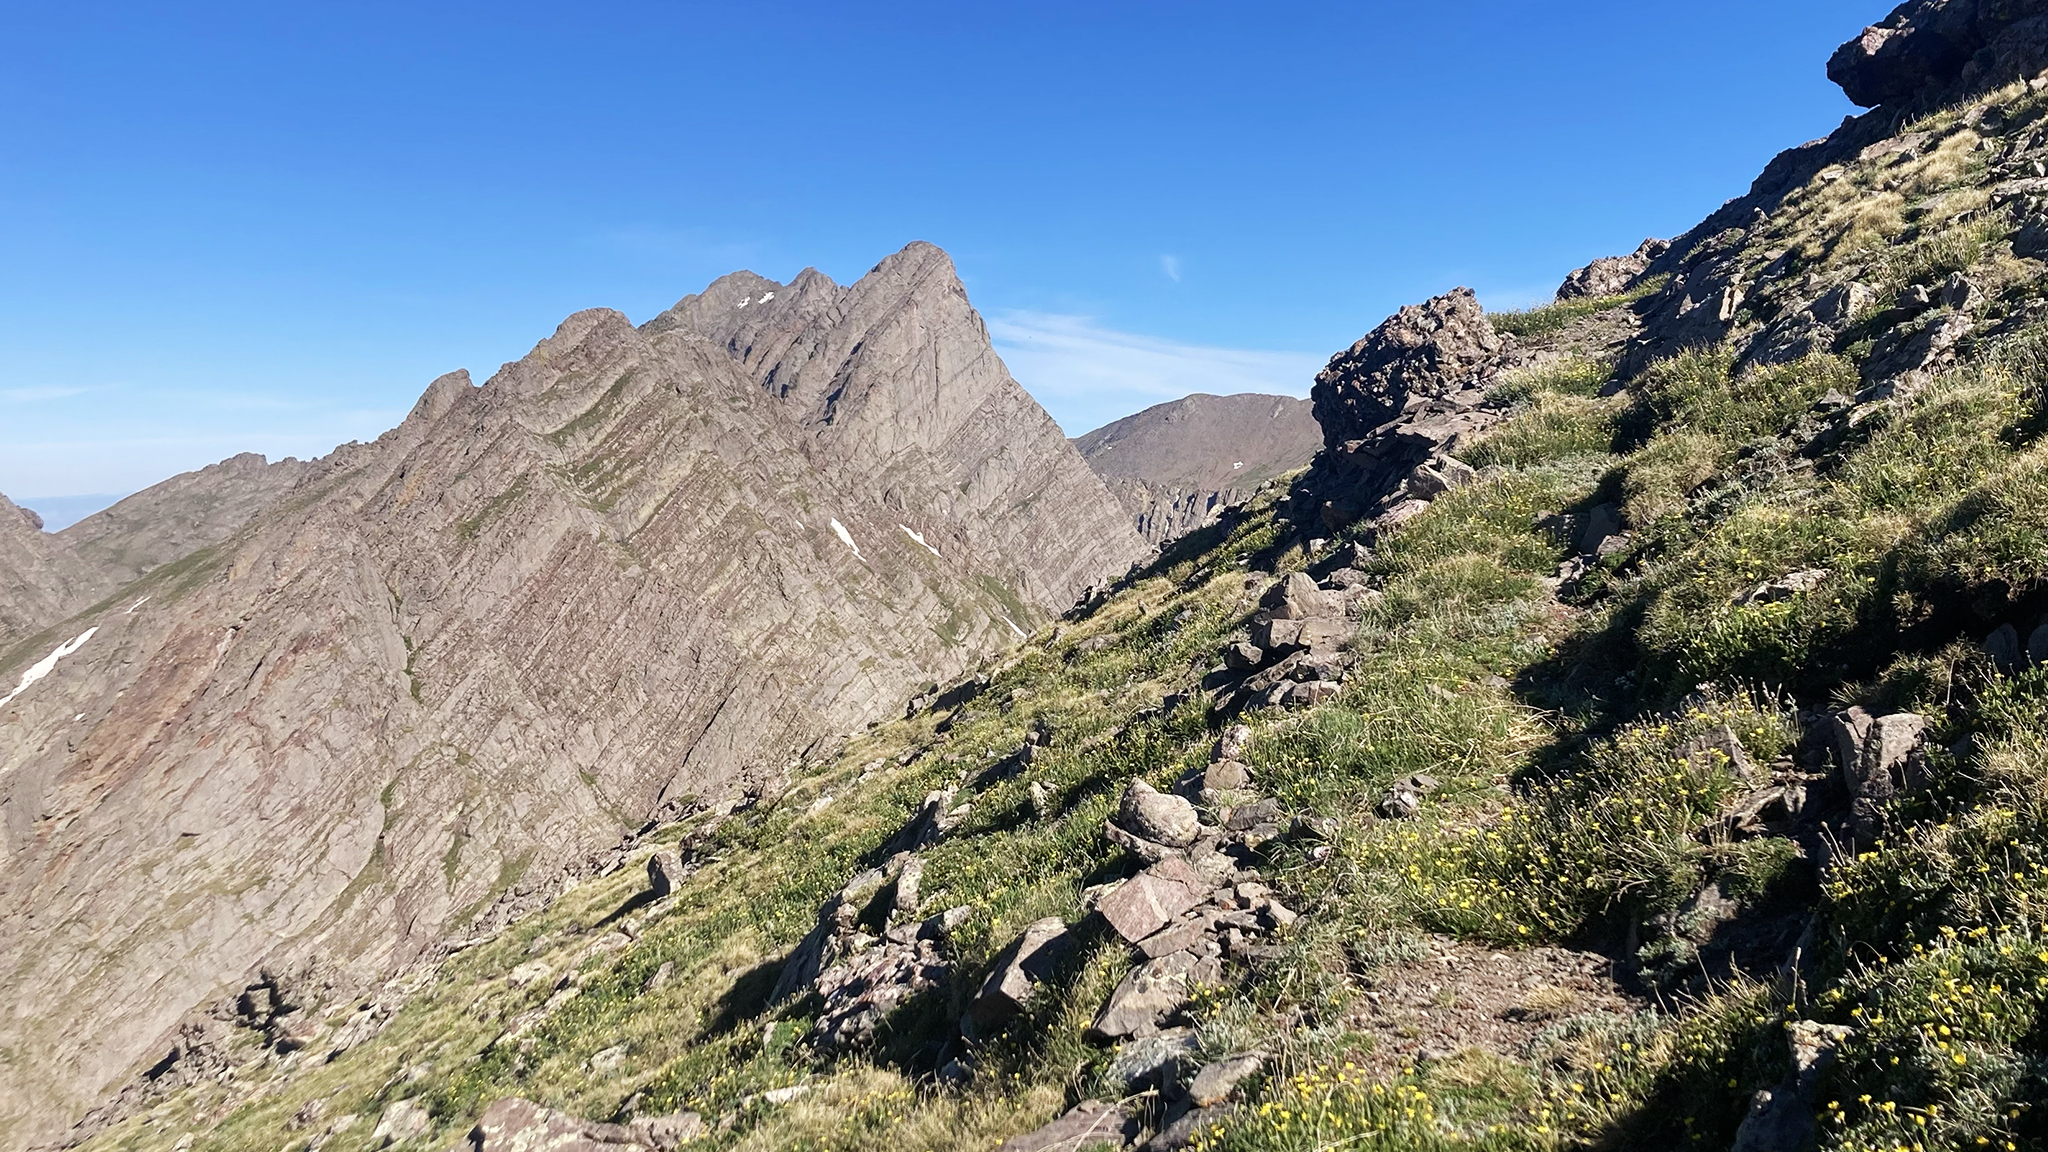
5.01 Lowpoint between Milwaukee and Broken Hand. Warmup is over. Broken Hand Peak will be your next goal, and the climbing here is serious.
Skipping Broken Hand Peak: From the mystery trail at approx. 37.94990, -105.55718, drop off the ridge south towards the Cottonwood Creek Trail below. Take the Cottonwood Creek Trail West to the junction with Broken Hand Pass. Turn right, heading north onto the Broken Hand Pass Trail to Broken Hand Pass. From there, you can either rejoin the route up Crestone Needle, or drop down the north side of Broken Hand Pass into to the South Colony Lakes Basin to camp, get supplies, or to skip Crestone Needle and Peak.
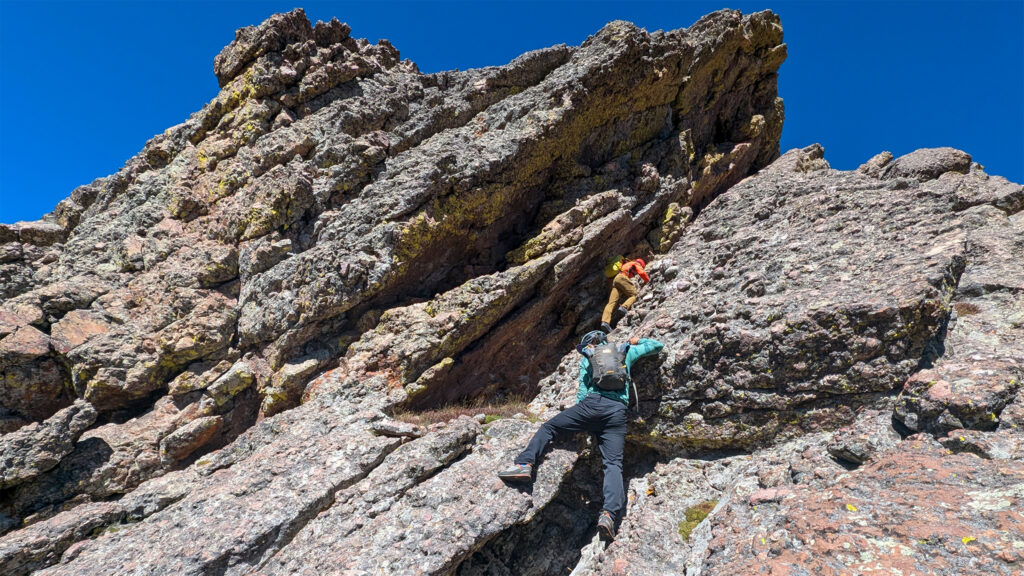
From the col at 12,800’ stick as close to the ridgeline as you can. When the going gets a little too difficult, scramble inside the gully that parallels the ridgeline climbing up and gain the crest of the ridgeline again. Low 5th scrambling will be found here, with serious exposure. The north side of Broken Hand Peak has an incredible drop off. Don’t become too familiar with it.
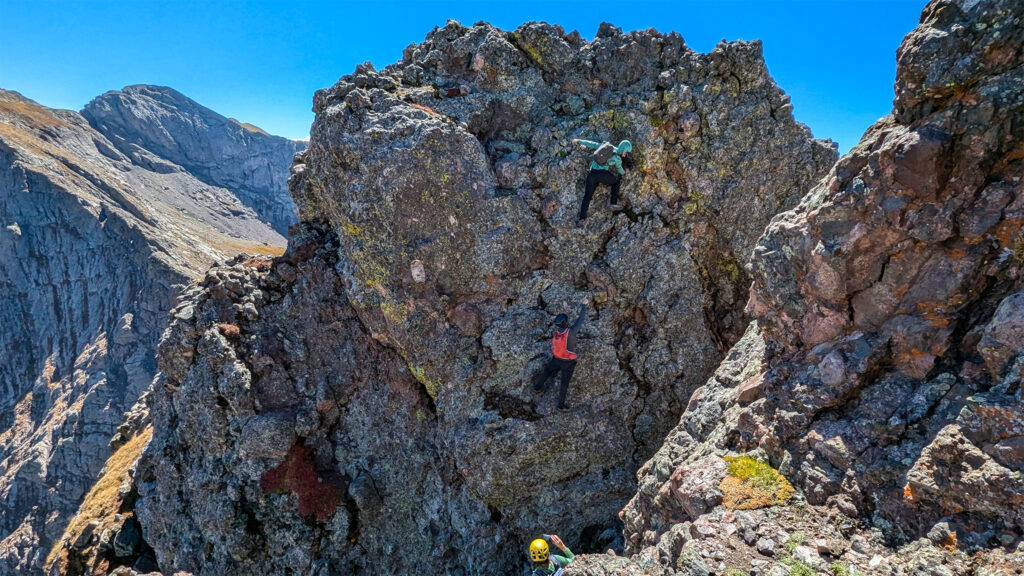
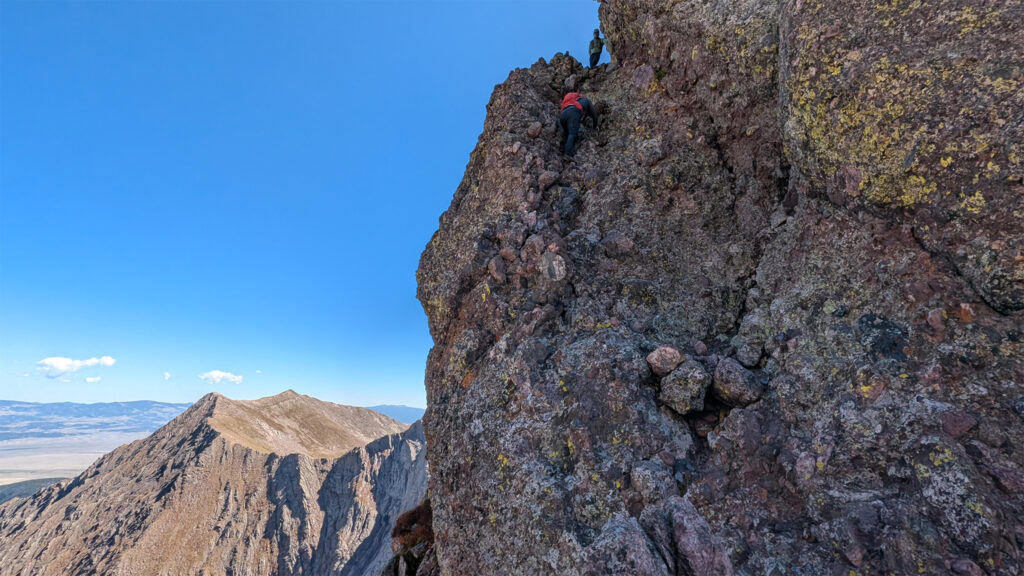
Once on the crest of Broken Hand Peak, you’ll be tested with downclimbing approximately three difficult towers. Take these towers straight on, or find a weakness just to the north. Exposure on these downclimbs is very real. Test holds as the conglomerate is known to give up its polished, round, river rocks. More difficult passage can often be skirted between the towers just below the ridge to the north.
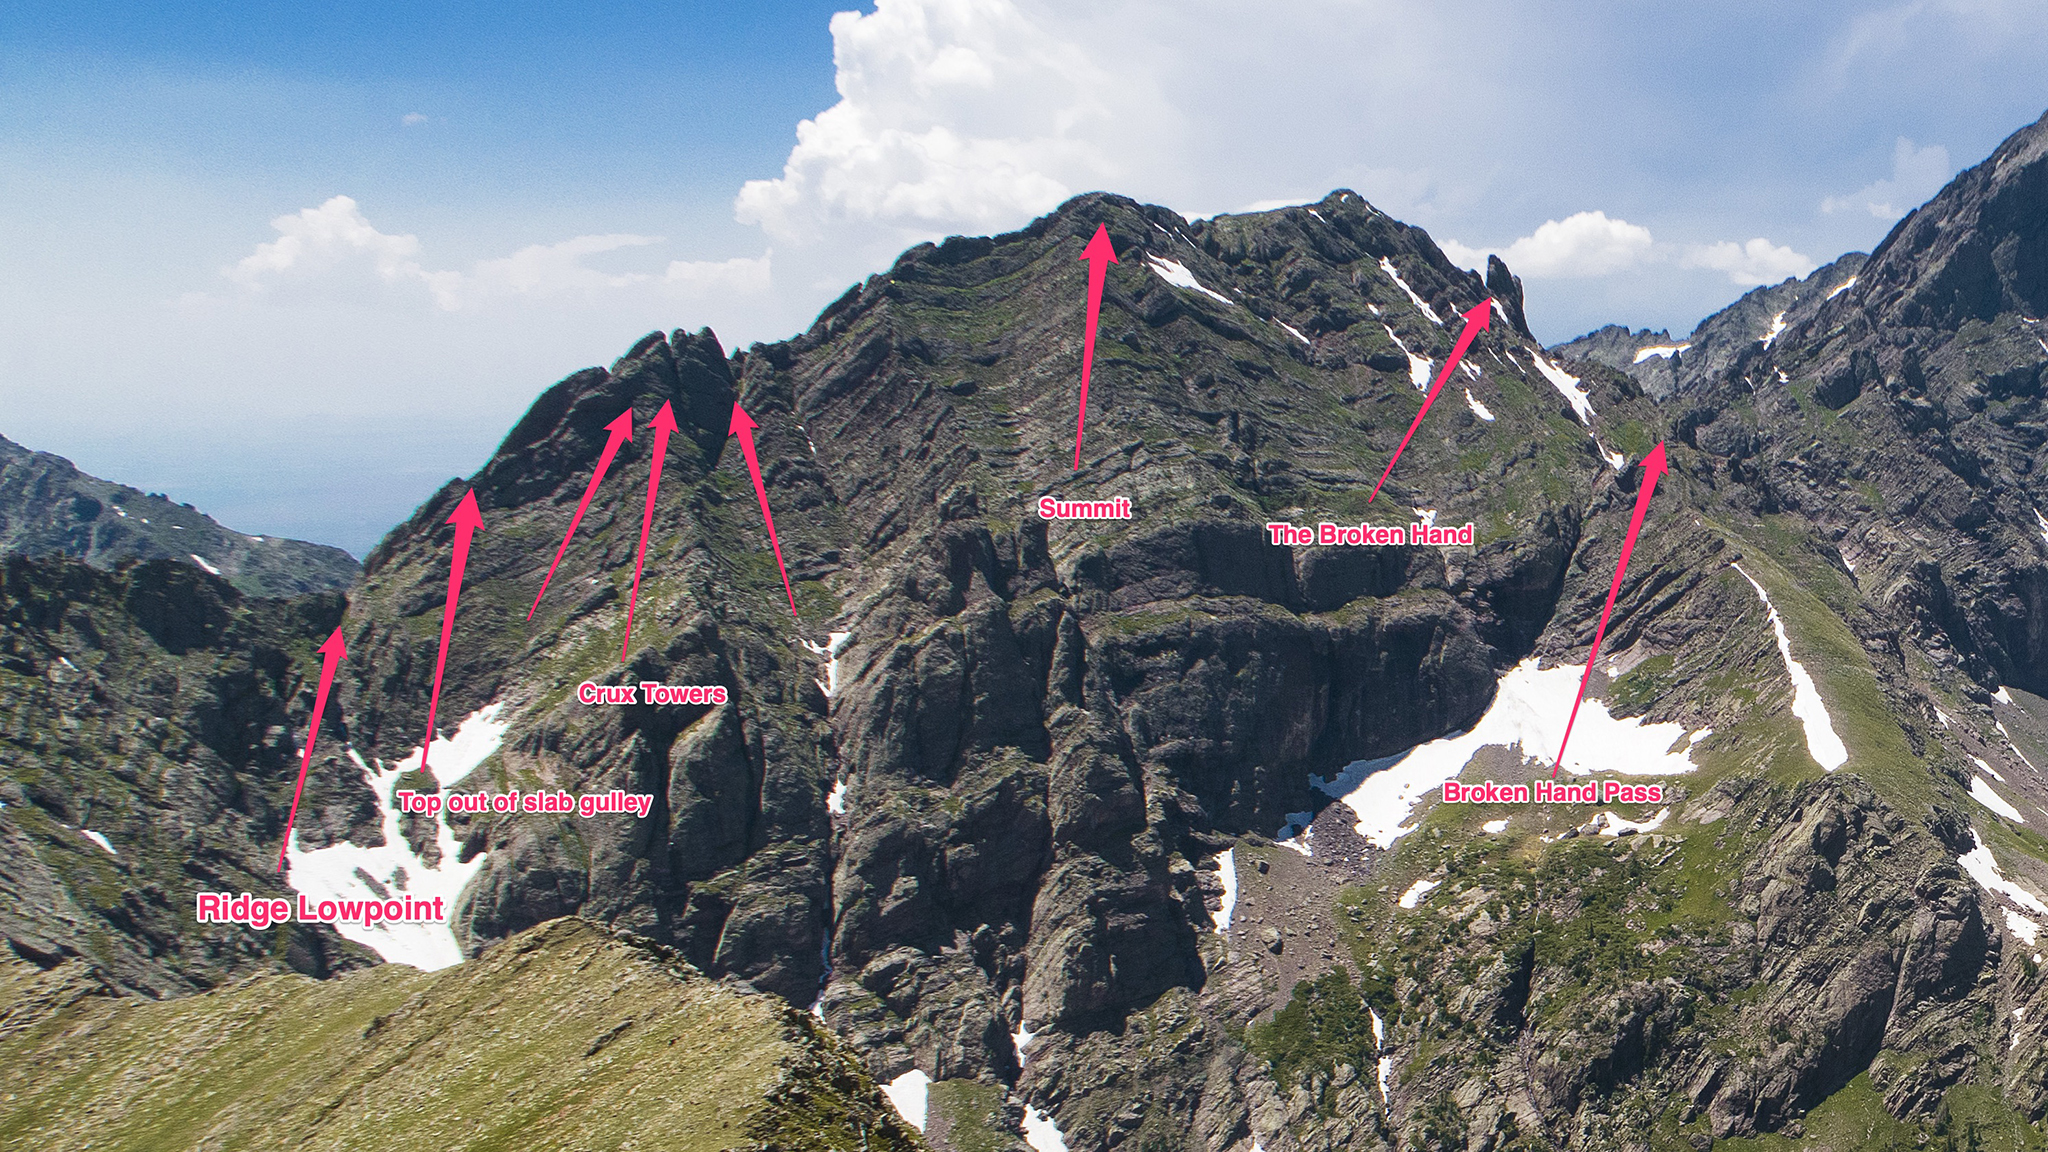
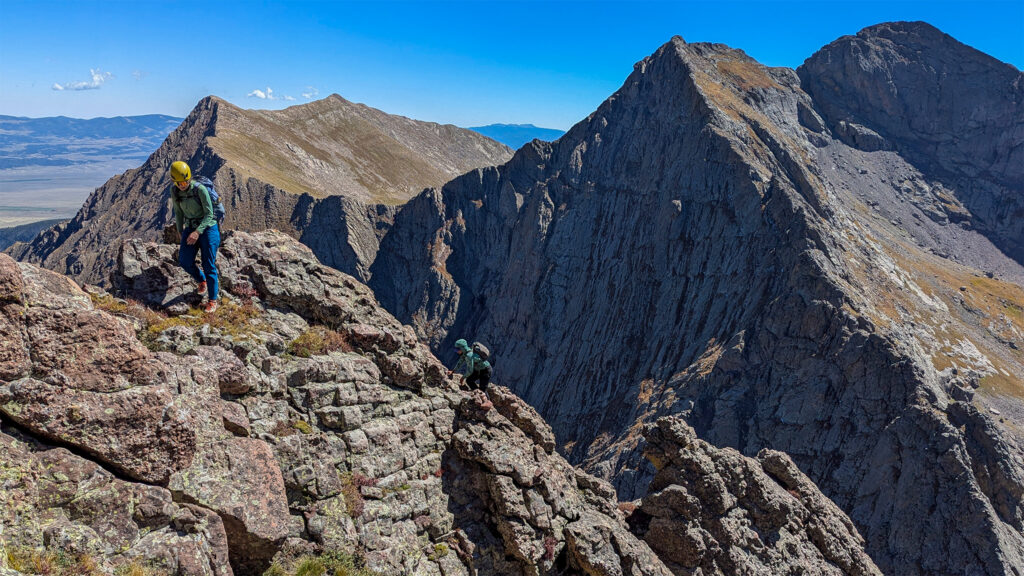
5.54 Gain the summit of Broken Hand Peak. The first – of many – technical summits has been reached. Descending off Broken Hand Peak can either be done on the ridge, or if an easier way is desired, drop down slightly to the southwest of the ridge. A large gendarme (the “Broken Hand”) can be skirted to the south.
5.99 Reach Broken Hand Pass
Bailout: descend Broken Hand Pass to South Colony Lakes. Copious camping and water can be found below. You can continue east to the South Colony Lakes TH, but the closest town is many miles away, so a hitch will most likely be required.
Bailout: descend Broken Hand Pass south to Cottonwood Lake and continue west to the town of Crestone. Public Transportation care of the Bustang Outrider is available in the nearby town of Moffat, which should be an easy hitch to get to from Crestone.
Skip Crestone Needle/Peak: at Broken Hand Pass, descend north toward South Colony Lake. Take the trail up Humbolt. At the saddle, hike west (Class 3) to Obstruction Peak and re-join the main route.
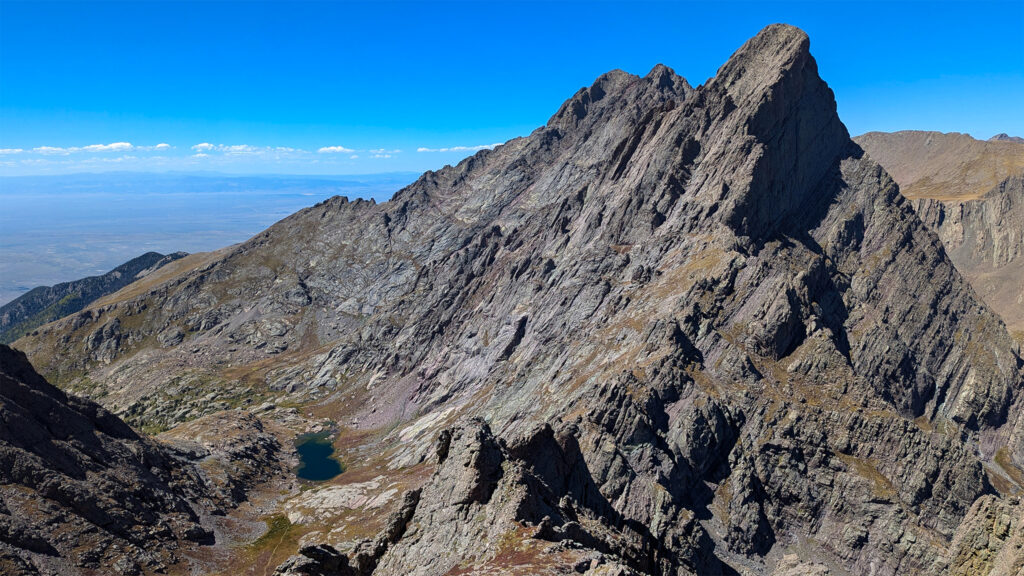
Your next challenge is Crestone Needle and the traverse to Crestone Peak.
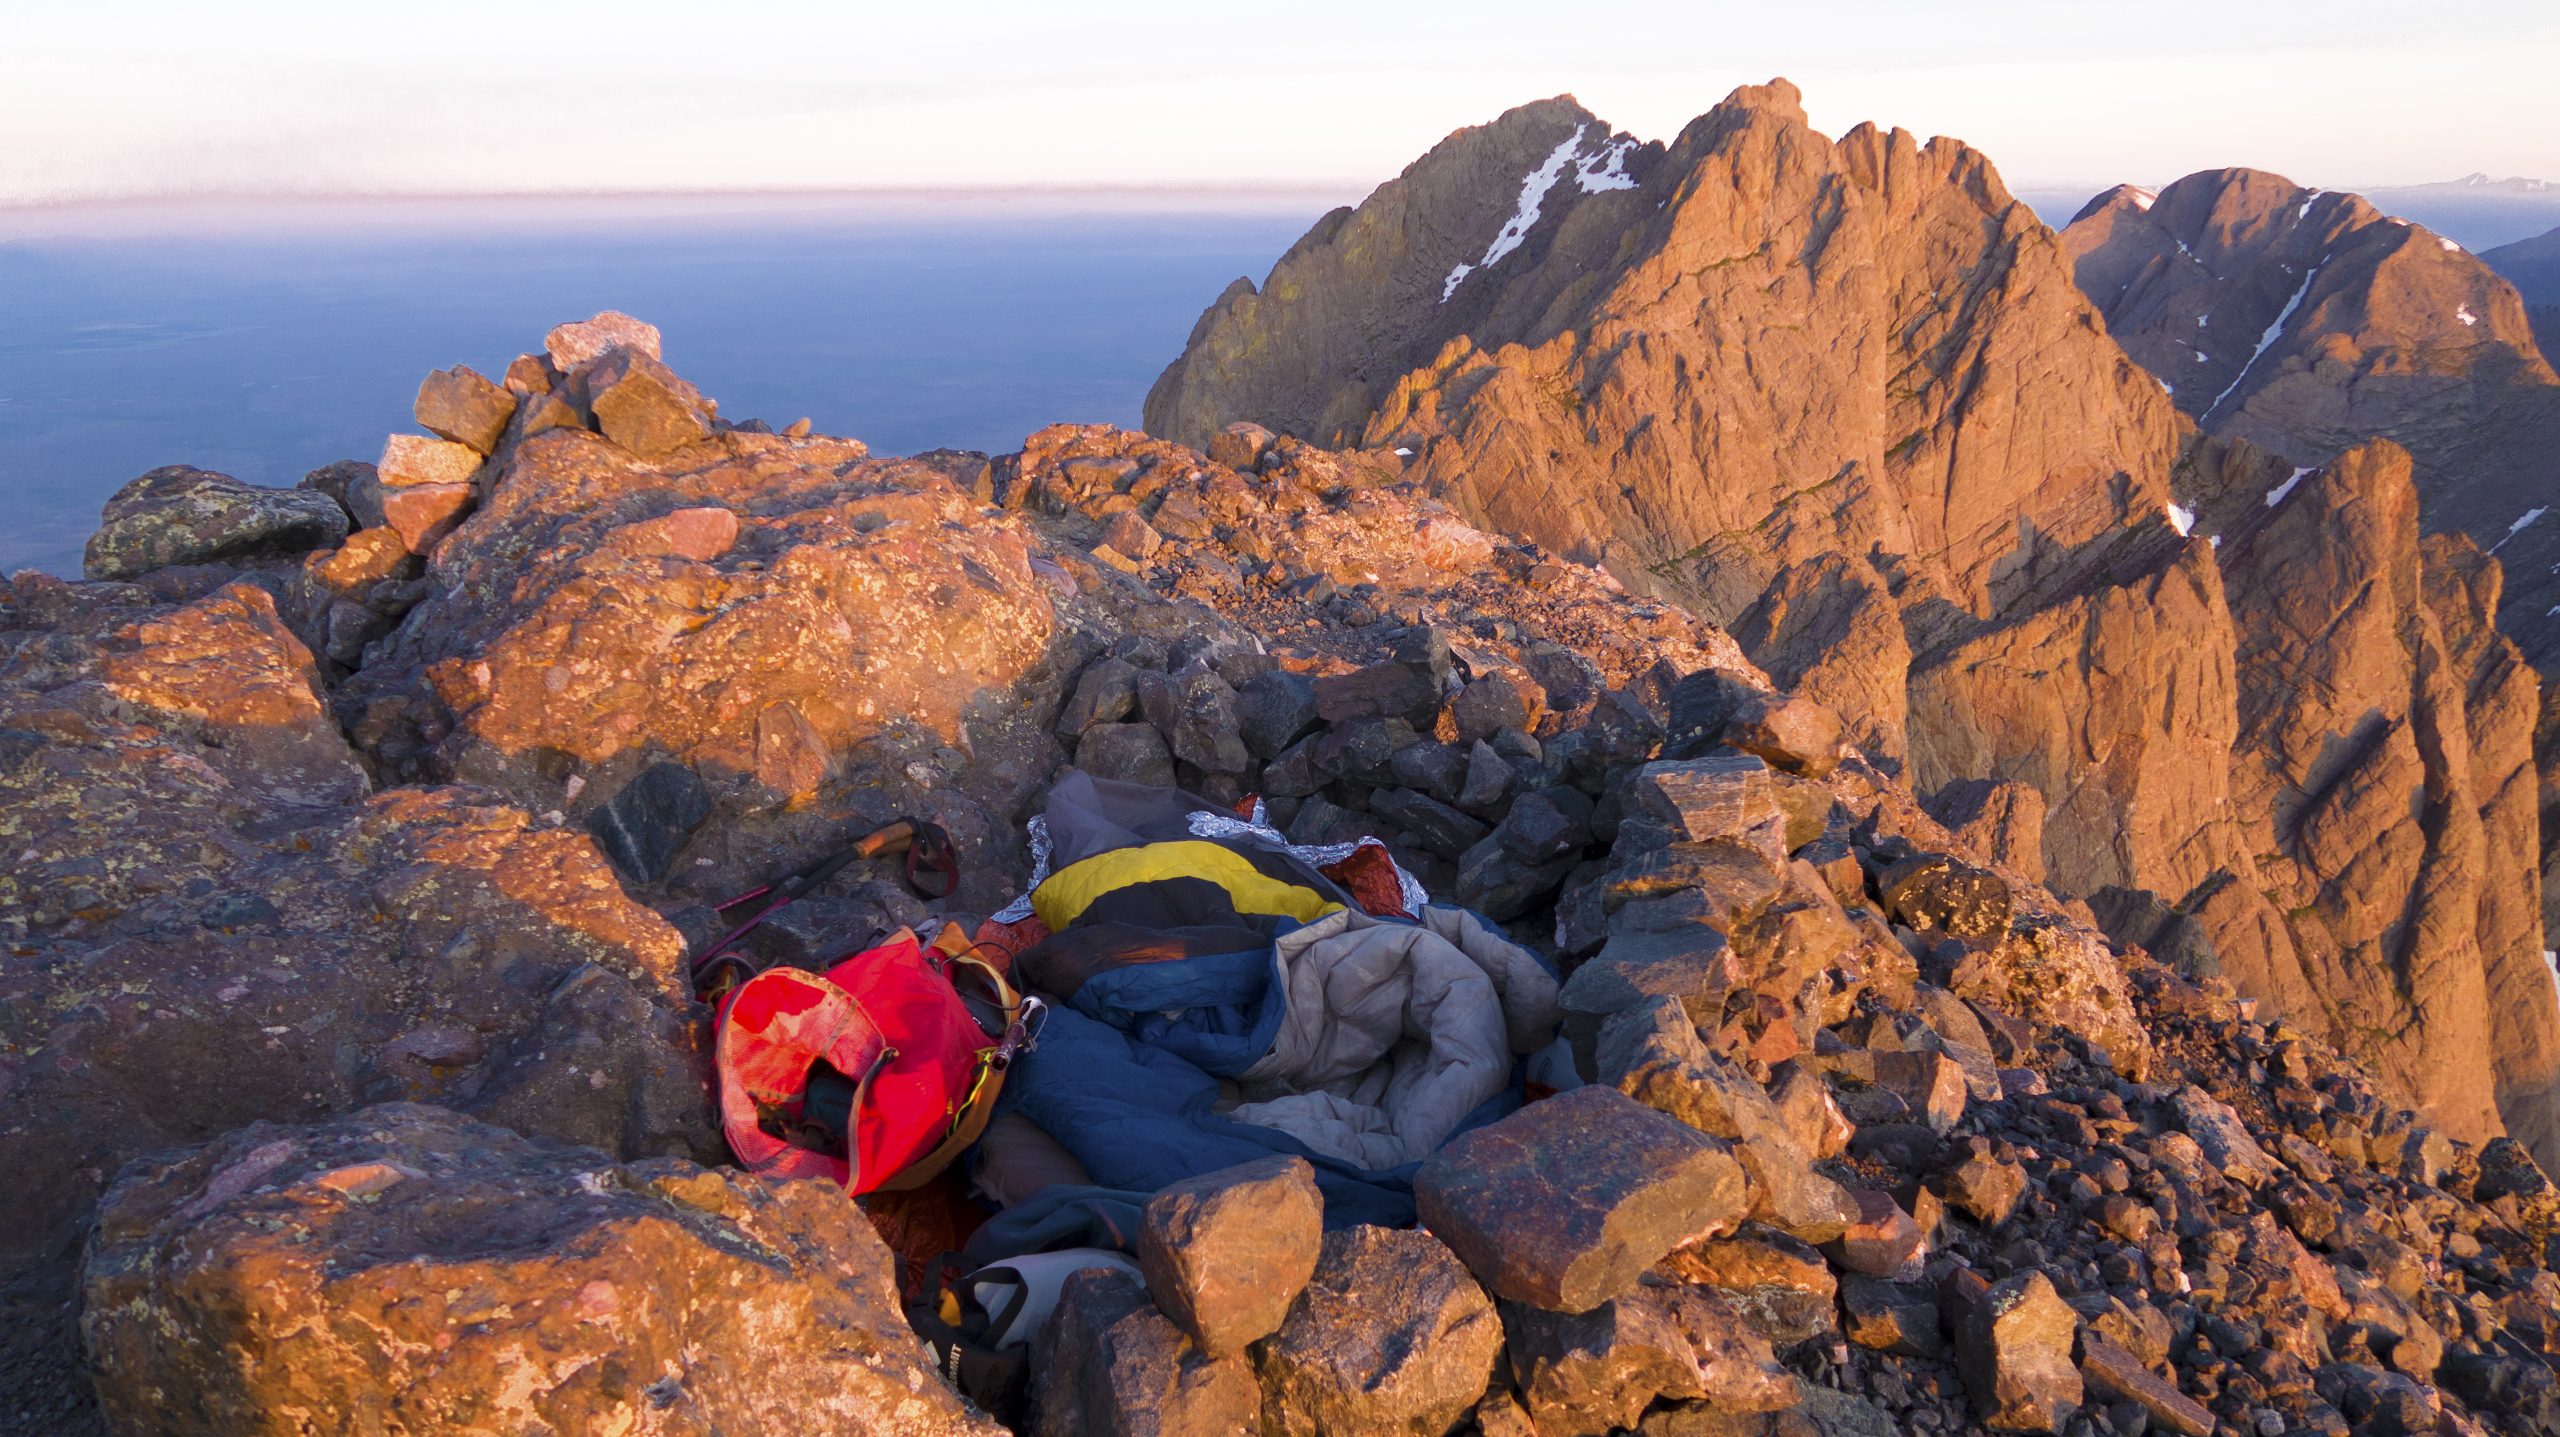
Beta for these peaks and the traverse can be found elsewhere online, although the narrative is usually described in the opposite direction.
- A good narrative of summiting Crestone Needle from Broken Hand Pass can be found on 14ers.com.
6.56 Crestone Needle. Start the traverse by downclimbing a quite incredible Class 4 headwall, then follow the cairns (and the GPX/map provided) to the South Couloir of Crestone Peak.
The South Couloir of Crestone Peak often holds snow and flowing water where it intersects with the traverse route. Climb up the South Couloir to the col between Crestone Peak and East Crestone and finish to the summit of Crestone Peak.
7.39 Crestone Peak
Once on Crestone Peak, consider nabbing both East and Northeast Crestone, both are points above 14,000′, but lack the requisite 300′ of prominence. As shown on most maps, Crestone Peak isn’t actually on the crest of the ridgeline, but approx. 415′ to the SW. “East Crestone” is the peak on the ridgeline, although it is unofficial because of its smaller prominence with Crestone Peak. We suggest nabbing all three while you’re there.
A few options are available to descend Crestone Peak. The first is via the Northwest Couloir. Snow stays most of the summer in this couloir, so it’s best to bring an ice axe to make the descent safer. Without one, pick a few sharp rocks you’re willing to trust your life to. Carefully descend down the couloir and continue on the NW Couloir route to the Bear’s Playground.
The other option to descend is to downclimb the North Buttress Route of Crestone Peak. This would be a difficult onsight – especially with a heavy pack – and includes a few moves of low 5th Class with serious consequences if you do fall. This has been the scene of at least one fatal accident. I have not descended the North Buttress myself, opting for the descent of the NW Couloir with the help of the ice axe I had brought.
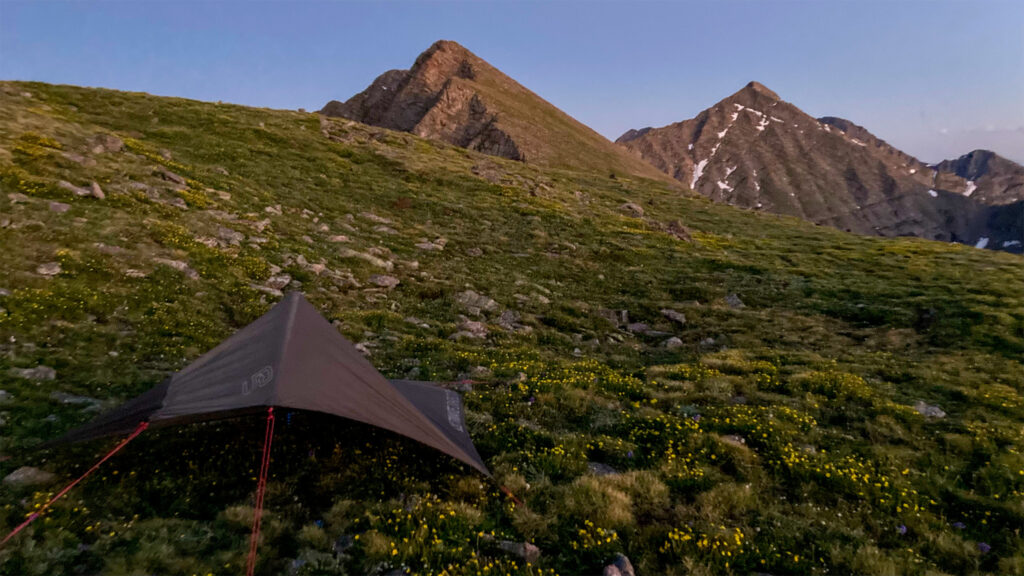
8.31 Make your way to the Bear’s Playground. A bivy spot is available right on the col, or down near Bench Lake, which provides a confident water source. Snow also lingers near this col.
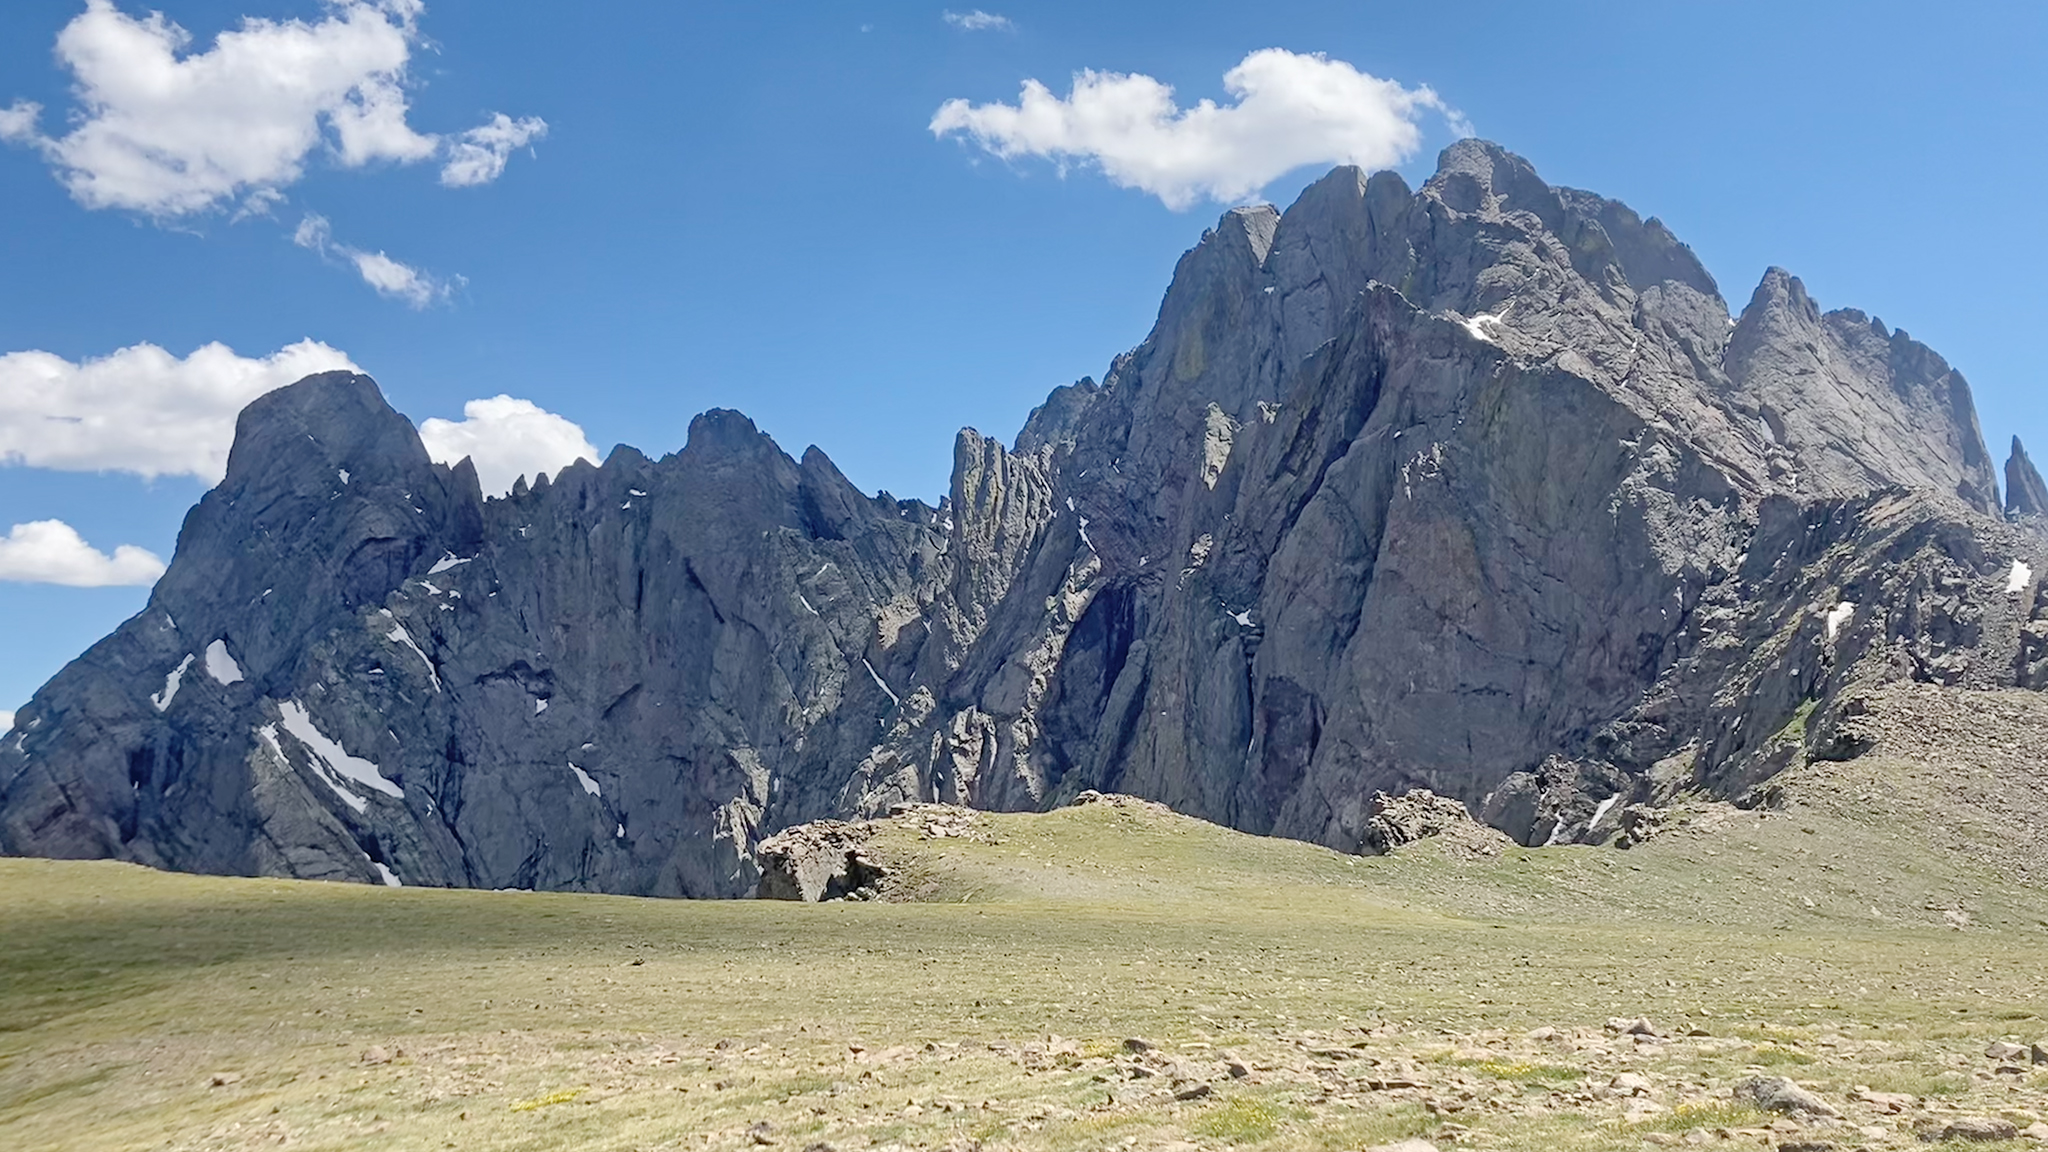
Bailout to the town of Crestone: take the High Route down into the Willow Lakes, then take the Willow Lake Trail to the town of Crestone. 4.71 miles from the lower Willow Lake.
Hike up to the ridge that makes up Obstruction Peak. Drop pack, and tag Obstruction, which is technically a bonus peak, but seems worth it for completion’s sake.
9.12 Obstruction Peak
This vantage point also gives you a good view of the next few peaks, which compromise a somewhat hidden crux of the entire segment and route: PT 13543, PT 13533, PT 13543 (yes, a second point of the same elevation), Mt. Adams, and Fluted Peak. These peaks are rarely talked about, but have some of the most incredible and sustained scrambling in the entire range, with dizzying knife edges with hundreds if not a thousand feet of air below them.
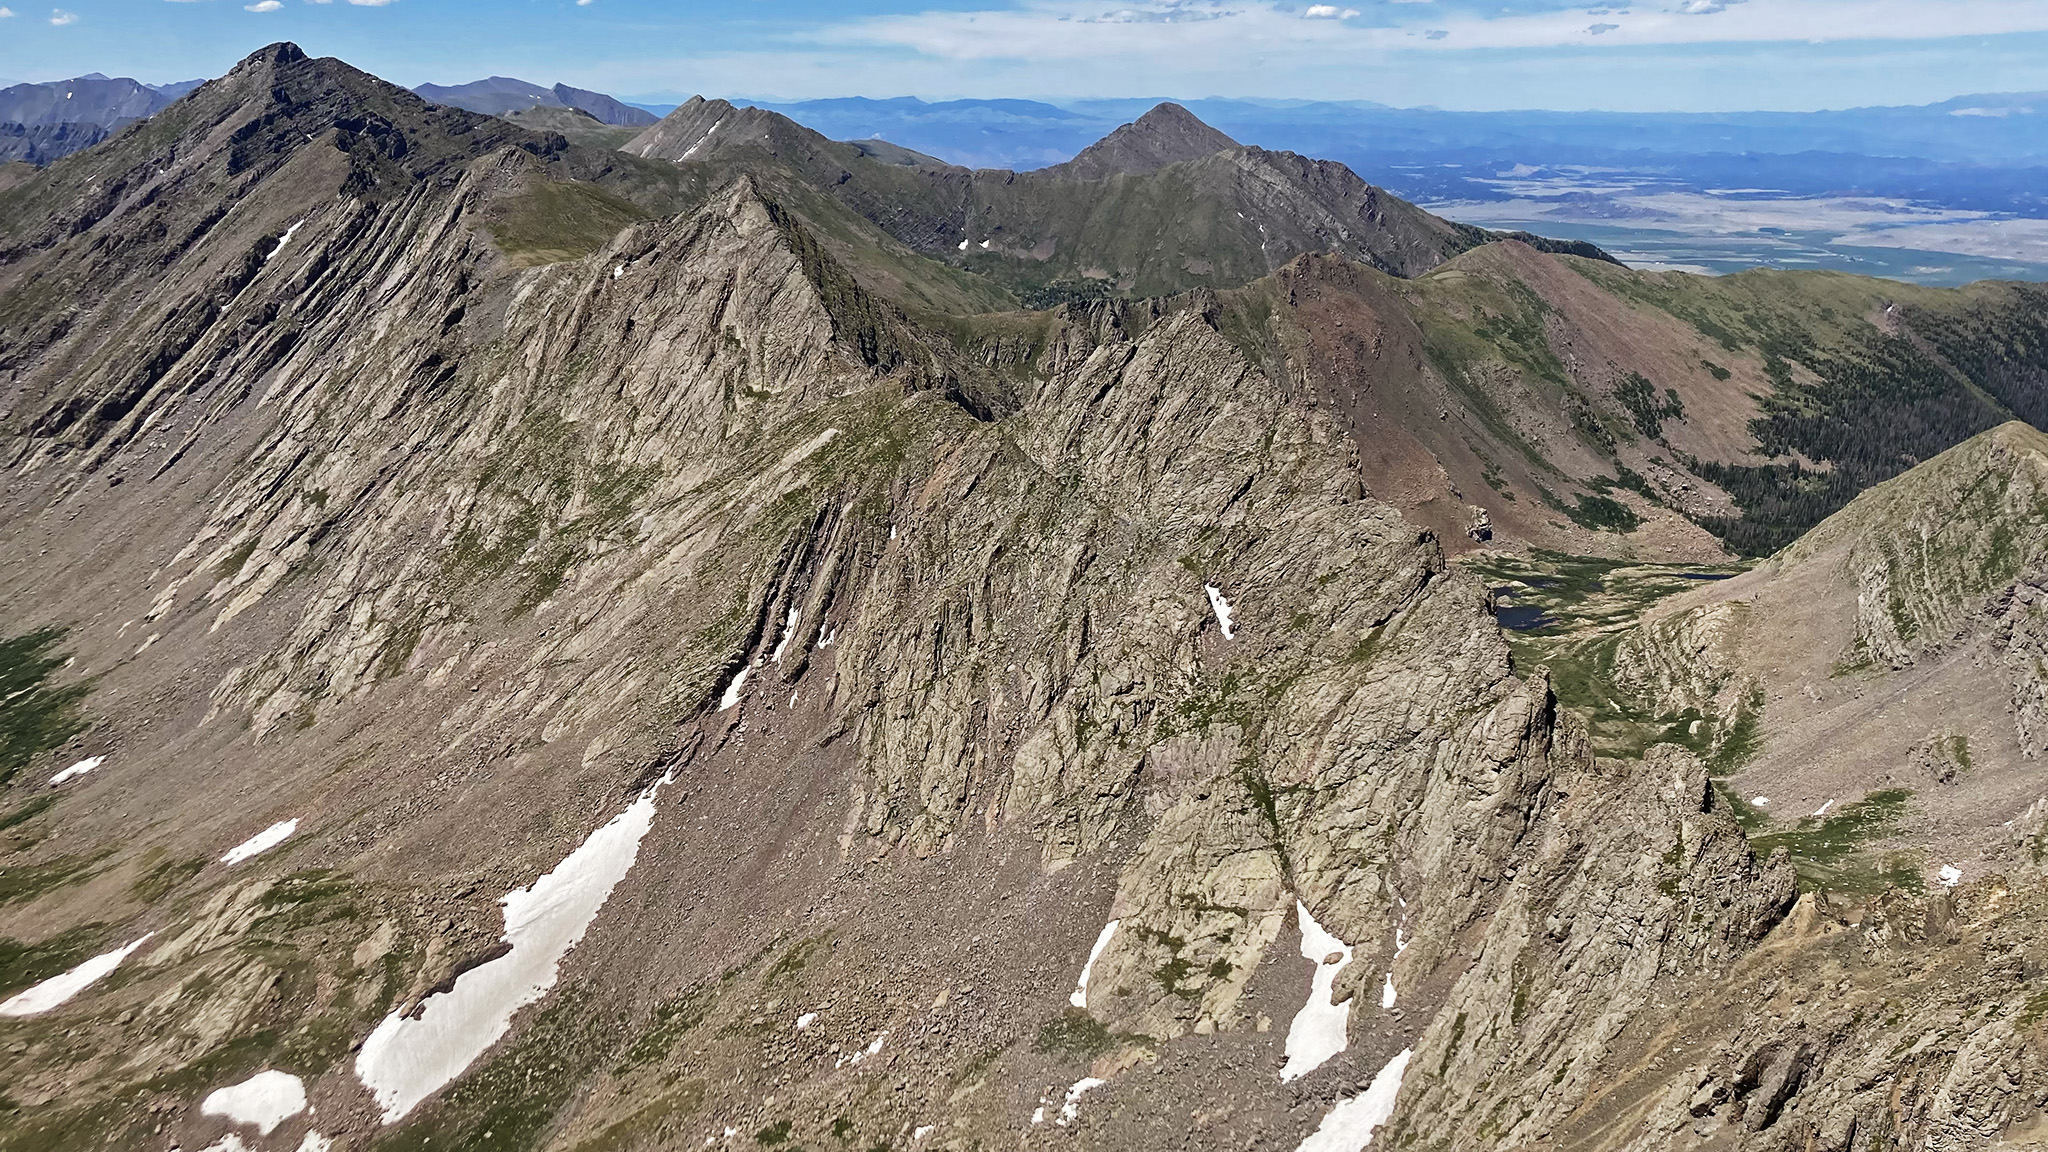
9.27 Make your way back to the ridge proper and continue north. The ridge’s rock quality surprisingly becomes much more chossier here, but staying generally on the crest is reasonable and suggested. The commitment once you start is very real.
Bailout: Descent NW off the ridge to Willow Creek Lakes.
Skipping the peaks between Obstruction Peak and Mt. Adams: start descending off the ridgeline just east of Obstruction Peak, but keep descending once you reach the upper Willow Creek Lake. Follow Willow Creek NW to Lower (and larger!) Willow Creek Lake, wrapping around the lake to its north side. Ascend the gully up to Mt. Adams’ west ridge. Summit Mt. Adams (Class 3). Rejoin the route and narrative at Mt. Adams.
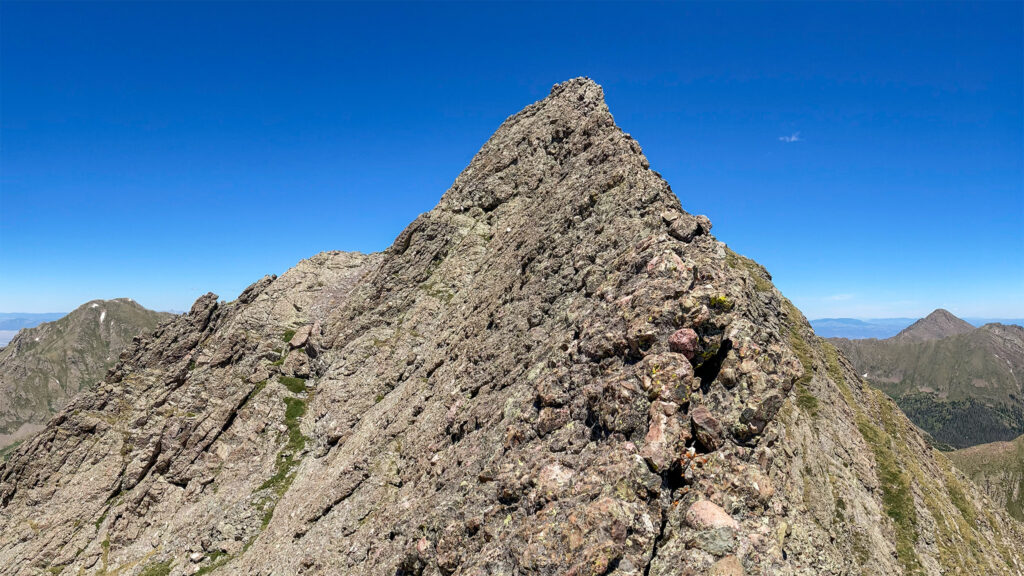
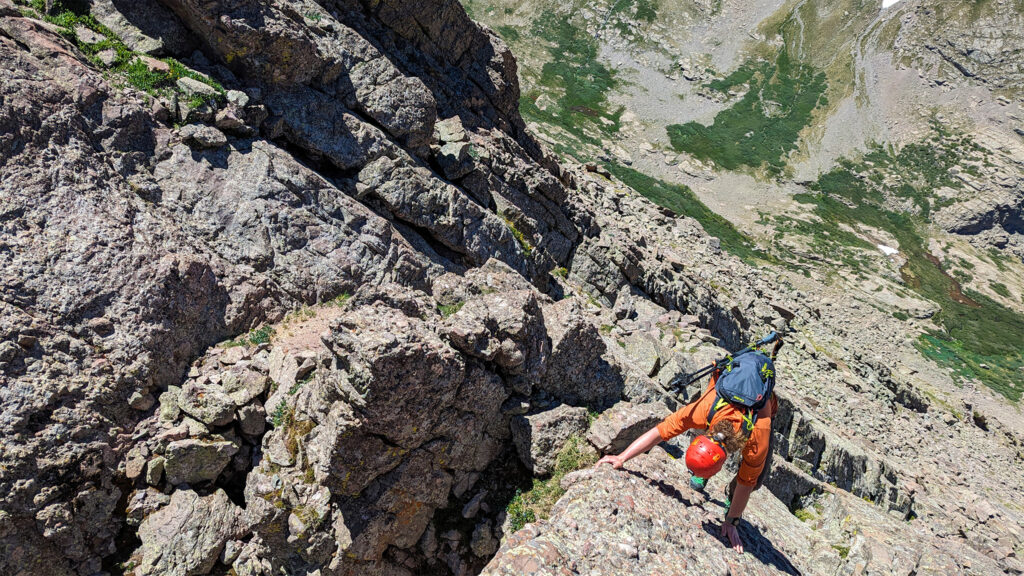
Pick your way across the ridgeline. Scrambling here will range from Class 3 to low 5th, so expect many puzzles and potentially some backtracking.
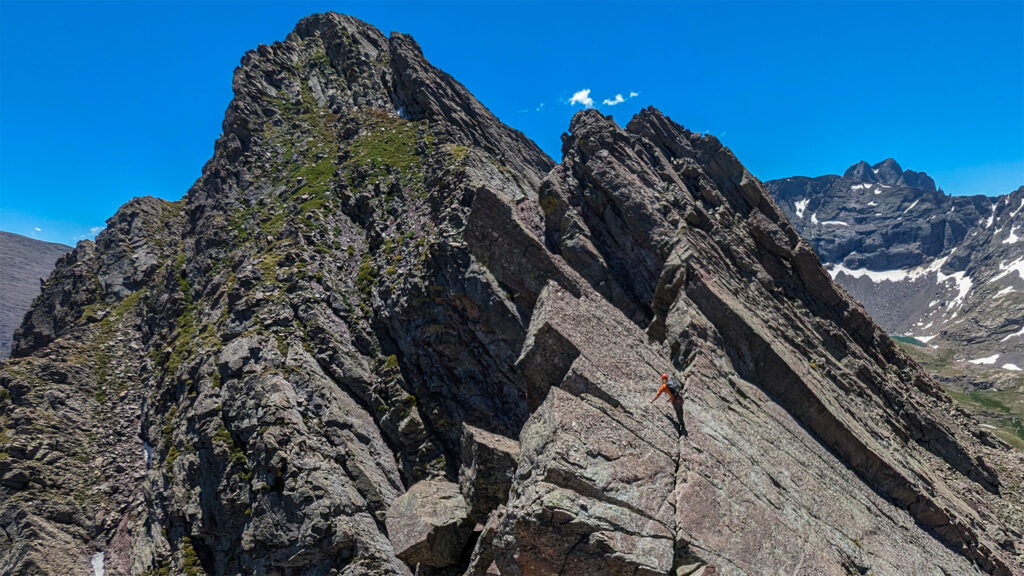
Make wise decisions.
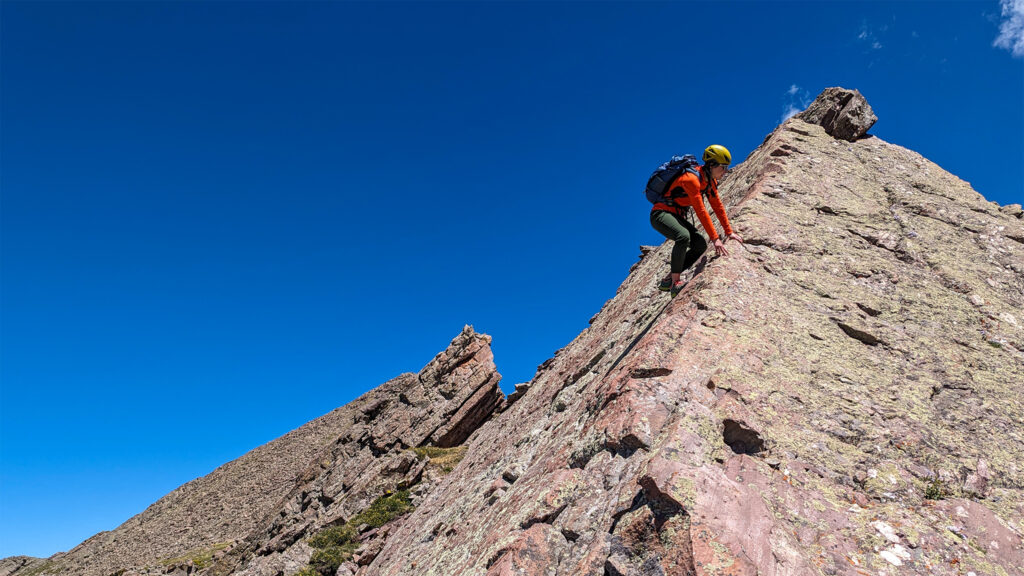
Generally the easiest way through is via the crest of the ridge. You can attempt to circumvent difficulties on the west side, but you’ll find towers that are not easily crossed which will push you far down into the Willow Lakes drainage.
The track we have mapped is from actual trips, so a high traverse is very much possible. Revel in these awesome positions.
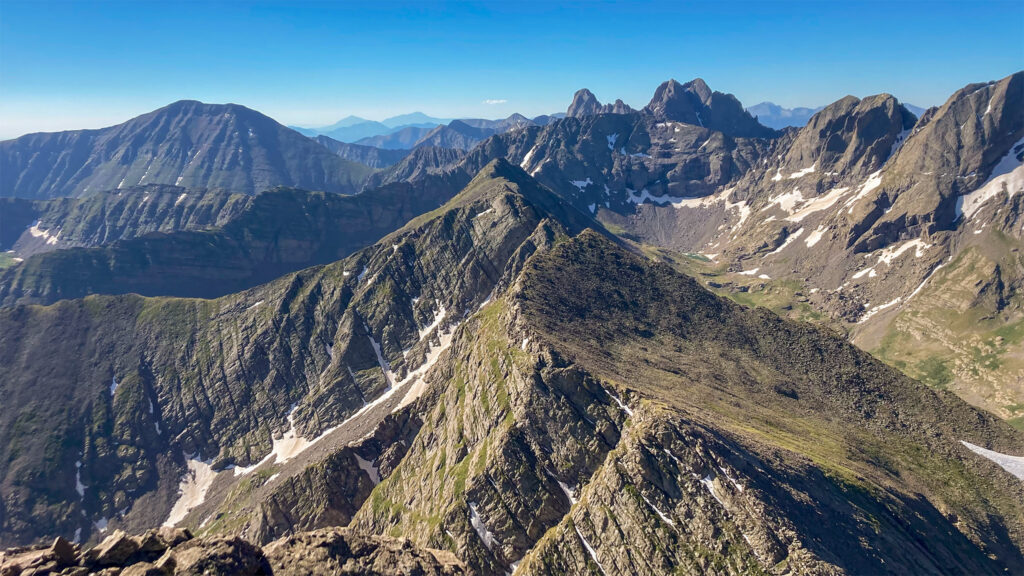
The final push up Mt. Adams is unrelentingly steep but doesn’t exceed Class 3. Summit Mt. Adams and know you only have Fluted Peak left to move on from the technical cruxes of the Segment.
11.77 Mt. Adams
Getting off the summit block of Mt. Adams directly takes a few careful low 5th Class moves, although you can sneak down the grassy ramp and spiral down to the correct side to continue. The rest of the way to Fluted Peak is mostly Class 3.
13.28 Summit Fluted Peak and give yourself permission to relax: the technical difficulties are by and large: completed for the entire route, and you have reached essentially the halfway point. Flat areas to bivvy can be found down the ridgeline. Completing this segment means having completed perhaps one of the most awesome ridges of scrambling in the entire State that few have seen, let alone have ever even dreamed of completing.
